



Hedge Laying for Beginners: Why, When and How to Start on a Smallholding
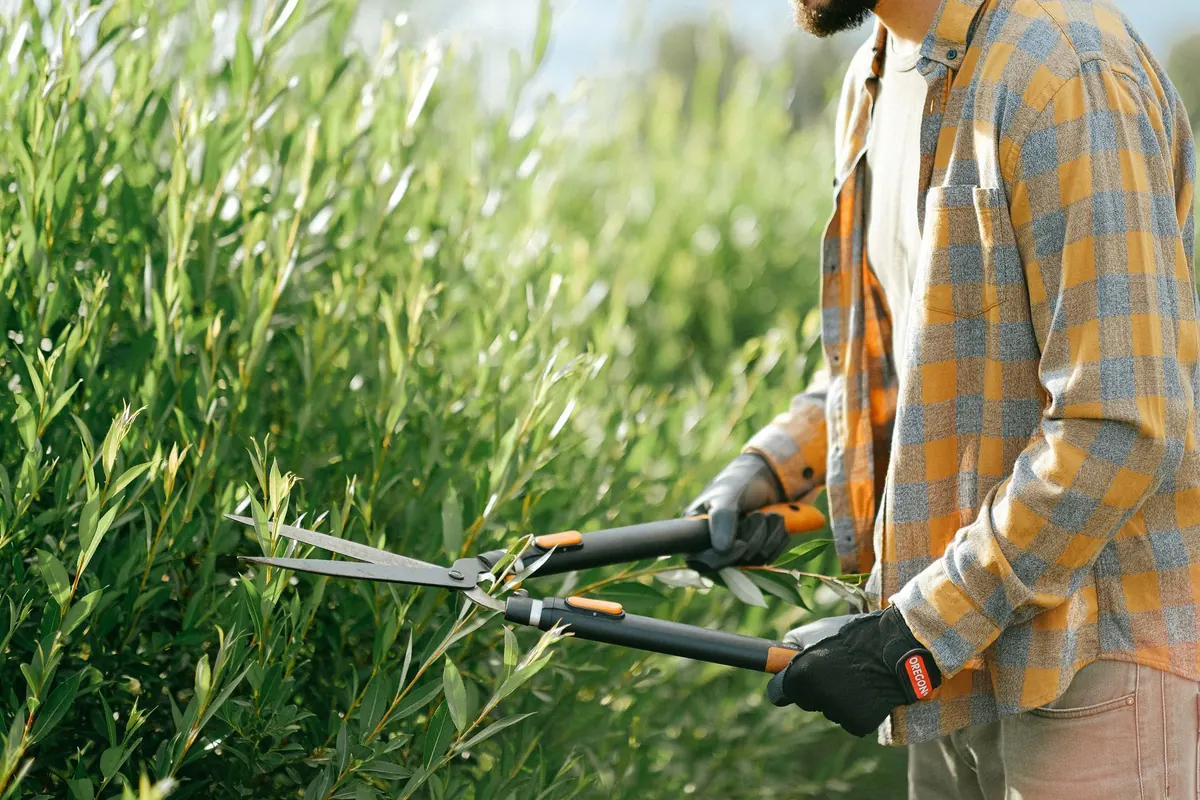
A laid hedge is one of the few jobs on a smallholding that pays you back twice. Spend a cold morning cutting and bending a length of leggy hawthorn and you finish with a stockproof boundary, a windbreak, a larder and a nesting site, all built from stems that were already there.
Why lay a hedge rather than fence it?
A fence has a lifespan; when it ends, you pay for it again. A hedge laid properly renews itself from the stump and gets thicker as it goes. That is the practical argument, and it is a good one.
There is usually a second reason. A hedge left alone for thirty years grows up and hollows out: the base thins and draughts, the tops carry on, and you end up with a row of elderly trees and gaps underneath. Sheep walk through, wind whistles through, and there is little cover for nesting birds. Laying resets the clock. You cut the stems almost through at the base and bend them over along the line — those bent stems are the pleachers. The cut stumps, called stools, push new shoots from low down, which is exactly where you want the density. Wildlife follows the structure: a thick, open base shelters small mammals and insects, and hawthorn berries feed birds through the winter.
When to lay
Lay between the end of one growing season and the start of the next — in most of the UK, roughly October to late February. The sap is down, the leaves are off, you can see what you are doing, and the cut stems have winter to settle before they shoot.
Two conditions to avoid. Hard frost makes brittle wood shatter instead of bend, so wait for the thaw. Waterlogged ground is the other: you will churn the gateway to mud and the hinge can rot in standing water.
Nesting matters too. Most wild birds are protected while nesting, and hedges are prime habitat, so the usual rule is no cutting or laying between March and August. Finish before the end of February and you avoid the question entirely.
One check before you cut anything. In England, the Hedgerows Regulations protect certain hedgerows, and removing one can require permission from the local planning authority; Wales, Scotland and Northern Ireland have their own arrangements, and agri-environment schemes may pay for laying or restrict the work. A quick call to your planning authority or rural payments body costs nothing, and if you are unsure where you stand, take proper advice before taking a hedgerow out.
Tools you actually need
Not much. A sharp billhook, a stone to keep it that way, and decent gloves will see you through a first hedge. The rest can be borrowed or bought second-hand.
- Billhook. Still the best tool for a clean hinge. A mid-weight hook is easier for a beginner than a heavy double-edged pattern.
- Loppers and a pruning saw. For stems too thick or awkward for the hook. Bypass loppers cut cleaner than anvil types.
- Hand axe or small felling axe. For taking out overgrown stools you are not going to lay.
- Secateurs and a slasher. For clearing brambles, ivy and nettles from the base before you start.
- Mell. A heavy wooden mallet for driving stakes; a lump hammer splits the tops.
- Stakes and binders. Hazel, ash, willow or chestnut stakes, plus long flexible rods for the binder along the top.
- Personal kit. Thorn-proof gloves, stout boots, eye protection, first aid kit within reach. Sharpen your tools before you leave the shed, not after.
Your first ten metres, step by step
Start with a short run. Ten to twenty metres finished properly teaches you more than forty metres left half done.
- Clear and check. Cut brambles and dead growth back from the base and look for old wire, netting and bottles. On a slope, lay uphill if you can, so the stems run with the ground, and keep every pleacher falling the same way.
- Cut the hinge. Work about 5cm above the ground and angle the cut upwards, so rain runs out of the wound rather than into it. Leave roughly a third of the stem uncut. Test it by bending gently; if it resists, take a fraction more, then press the stem down rather than snapping it.
- Lay it. Lay each pleacher along the line at a shallow angle, tucking the tops in behind the stems already laid, and cut back any brash that sticks up.
- Take out the rubbish. Cut dead, diseased and hopelessly thick stems at ground level, and leave the strongest stools to regrow.
- Stake and bind. Drive stakes along the line, tops just above the laid brush, then weave a long flexible rod around each stake to hold the run down. A second rod woven the other way locks it.
- Tidy the finish. Trim the top line and the ends neatly with the slasher. Use the brash as a dead hedge to fill a gap, or stack it as habitat.
Sharp tools, wet wood and cold hands are the risks here. Cut away from your body, keep your feet clear, and stop when you get tired.
Which style?
Regional styles vary, but they come down to two ideas. Single brush hedges, from the Midland and Welsh traditions, are the usual choice on a smallholding: pleachers laid to one side, stakes and binders on top, a neat face on the side you see. Double brush hedges — the Devon and Dorset way — are laid from both sides with no stakes and suit a bank or a wide, established hedge. If your hedge sits on a steep earth bank, look at the Devon style before you start.
Species matters as much as style. Hawthorn lays beautifully, and so do hazel, field maple, dogwood, spindle and willow. Old blackthorn and ash are brittle and often better cut out. Willow and hazel root where they touch the ground, which is useful for filling gaps but worth keeping clear of wet soil.
After the first cut
A newly laid hedge looks brutal. That is normal. Keep livestock out for a season or two and let the stools shoot away. After that, trim lightly and rarely — cutting hard every year gives you a dense shell over a bare base, the opposite of what you want. Slope the sides outwards towards the ground so light reaches the base, and trim in late winter or early autumn to miss the nesting season.
Start this winter
Choose a short length you can walk round easily, check what you are allowed to do, and sharpen your tools the day before. If you can, watch somebody lay ten metres first: county wildlife trusts, farming wildlife advisory groups and hedgelaying societies run winter courses and practical days, and an hour of watching saves a lot of guesswork. Then have a go. Your first hedge will be uneven and your second will be better, and when the new shoots push out of the stools in May you will see why people keep doing it.
Photo: Anna Shvets / Pexels